My Jaguar 1971, XJ Series 1, MOD
The XJ Series 1 has to be the most iconic of the XJ series cars. Voted the best car in the world on its debut and set a whole new era in motion for the Jaguar marque.
As recorded on another page on this site HERE I did previously own a Series 1 MOD car and in many ways regretted selling it. Although it was a MOD car it was not a factory manual, having been converted by an earlier owner.
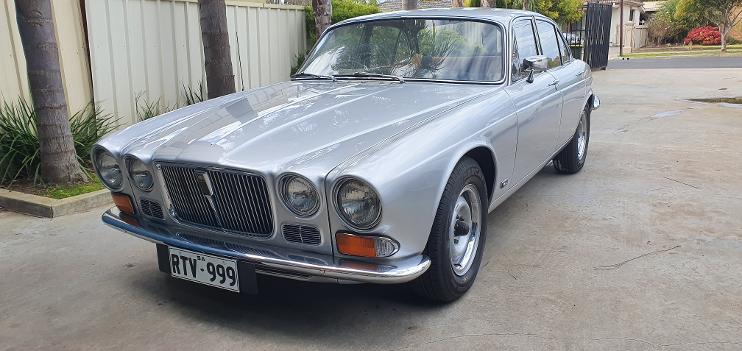
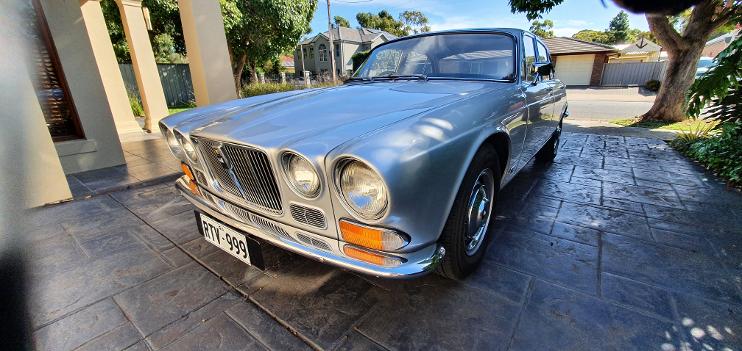
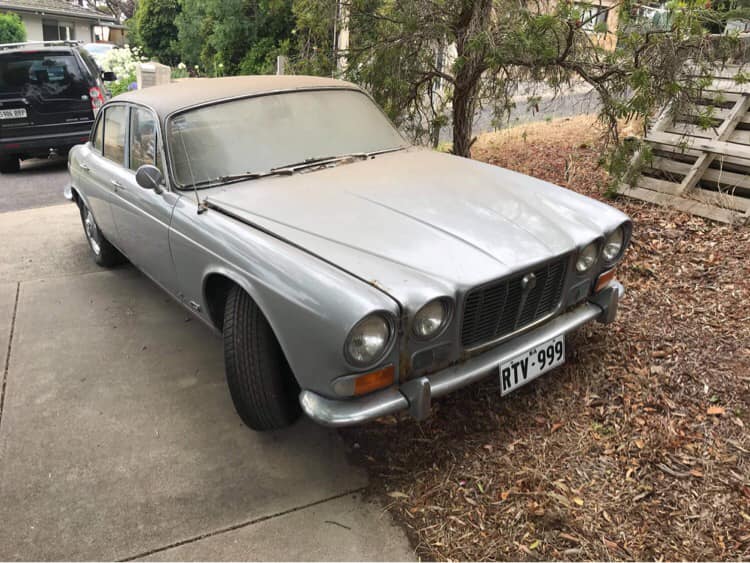
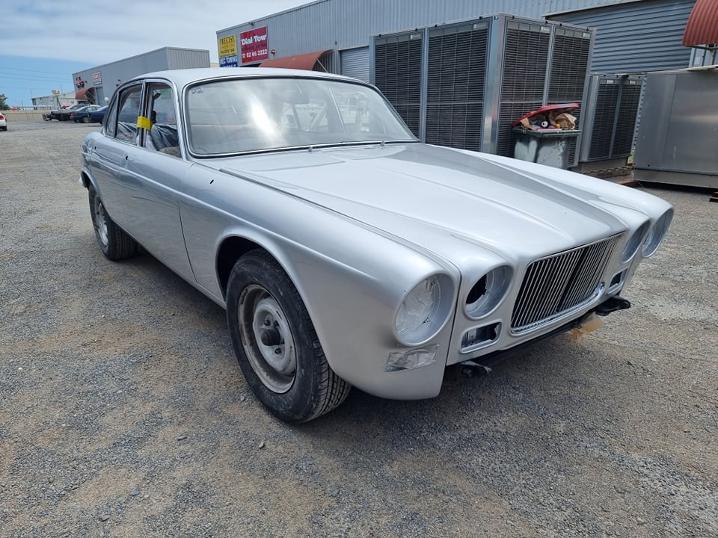
Whilst involved in my usual practice of trolling Facebook and Marketplace I noticed a local car, a Jaguar XJ Series 1 was advertised for sale just a short distance from home. (Photo opposite) A 1971, 4.2ltr. factory manual, electric overdrive car. It was a locally delivered car via Brysons in Adelaide.
The add described the car as being laid up for some years and needed someone to love it. The price was too good to be true and I determined to check this car out. I was told by the seller that he had had over 300 messages in response to the advert but because I identified myself as a member of the local Jaguar Club I would have first option as he did want the car to be saved.
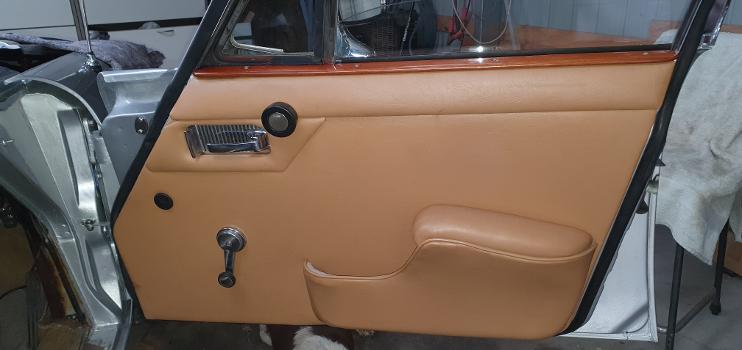
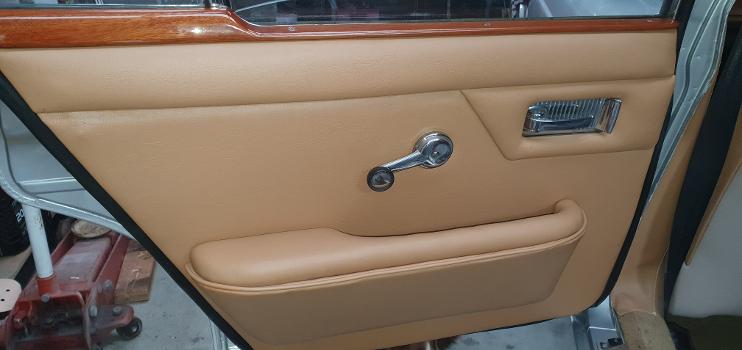
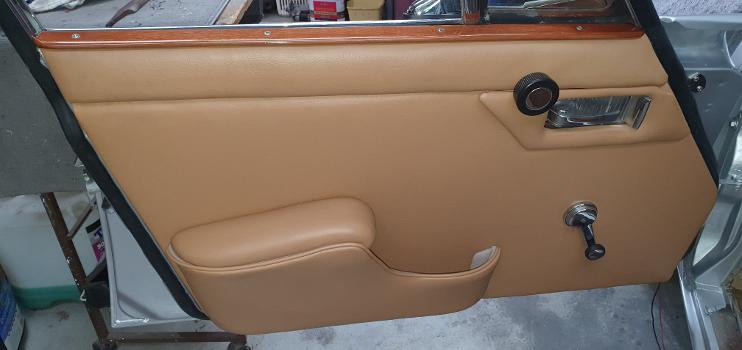
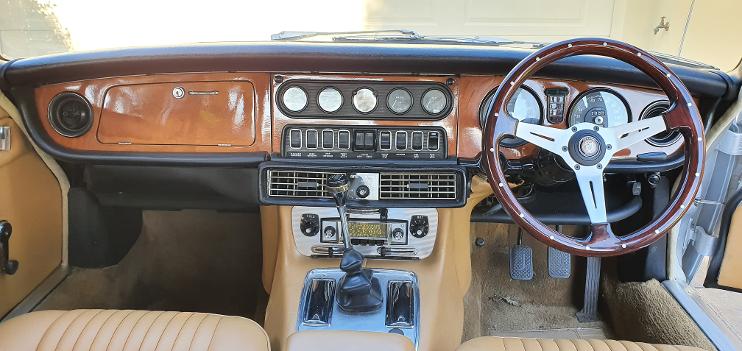
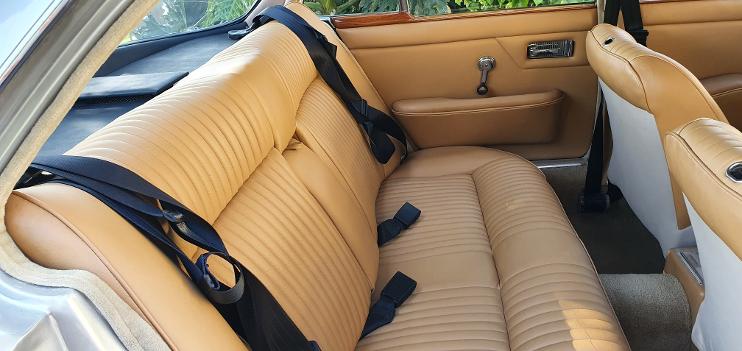
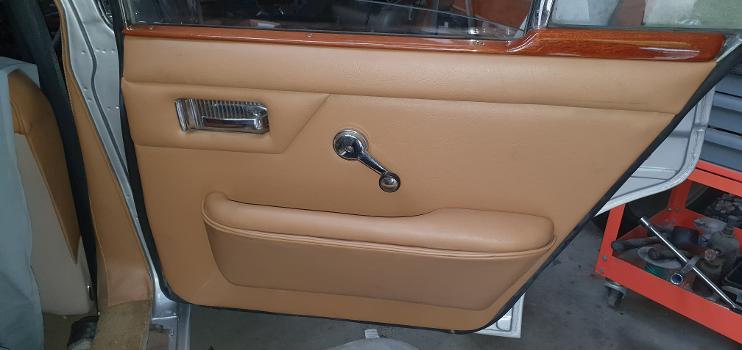
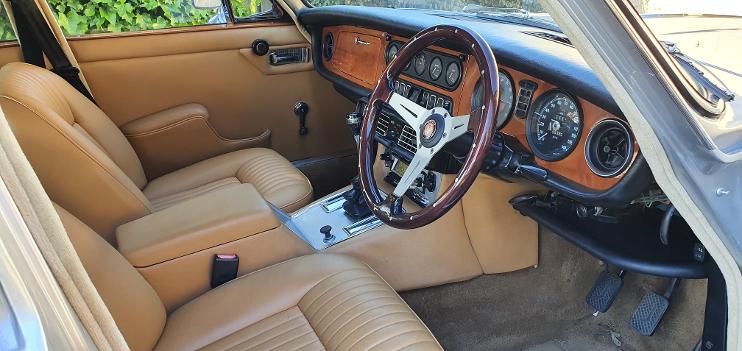
The car was not running but was a locally delivered car in Adelaide and the interior had been completely refurbished a few years prior to being laid up, with new leather seats, door cards etc. Needless to say this stray cat just followed me home.
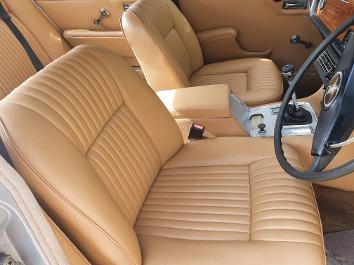
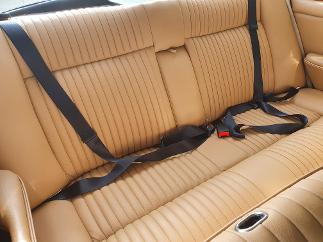
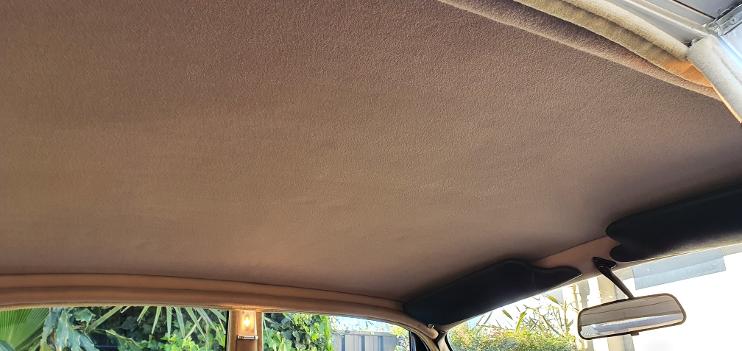
As the photos opposite demonstrate, the interior had been totally refurbished, with new leather seats, new door cards, hood lining etc. This was a total bonus.
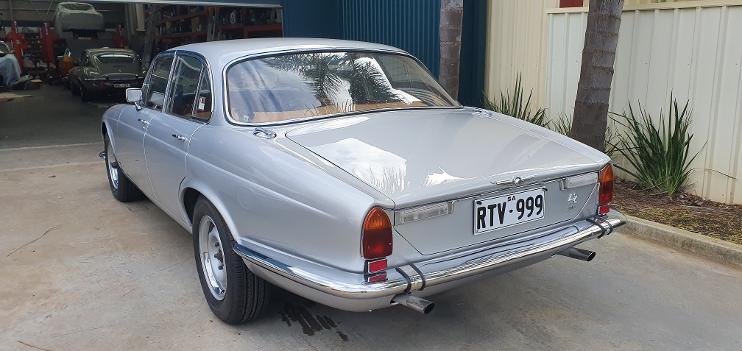
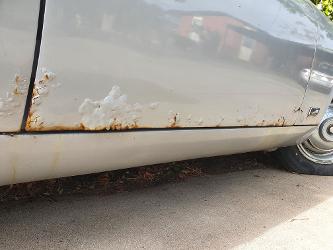
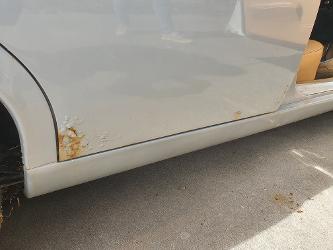
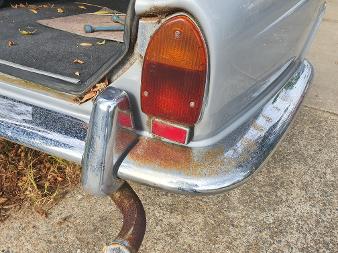
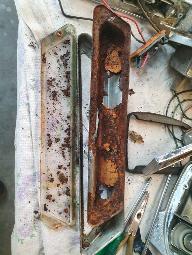
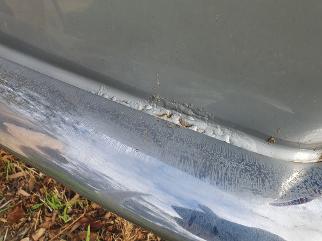
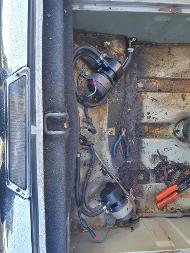
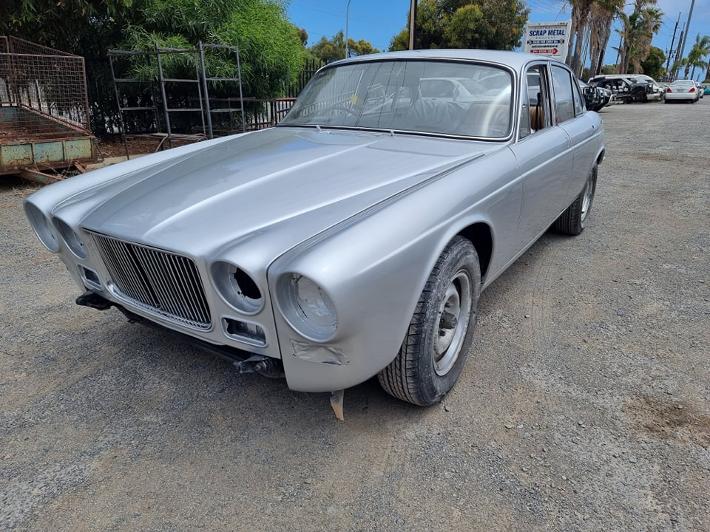
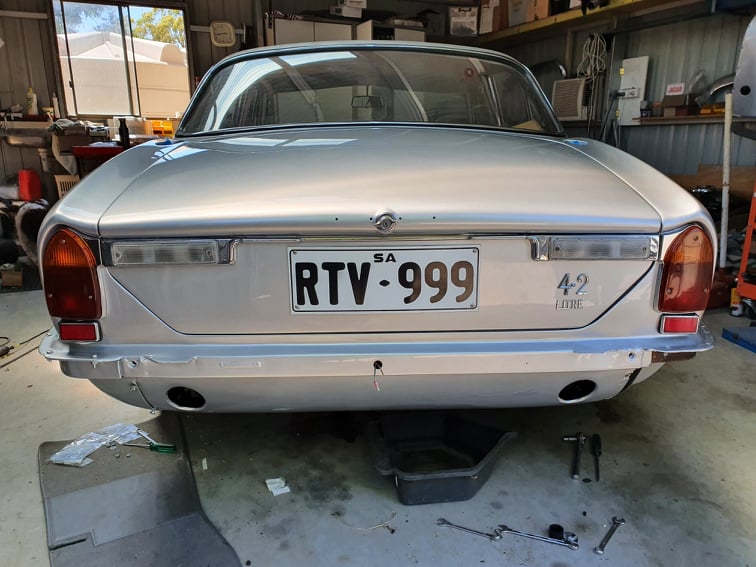
However the car did have other issues. The car had been stored in a carport with the drivers side exposed to the weather hence the tin worm had caused havoc with the drivers door, the front of the bonnet, the RHS front guard, RHS Drivers door and RHS passenger door. the gutter behind the RHS chrome strip was also showing signs of deterioration. The rear bumper had seen better days and the registration light assembly in the rear bumper was completely shot from rust. There was a rust hole in the floor of the spare wheel well in theboot and some signs of rust in the rear beaver panel. So, I did have some work to do as the photos below show.

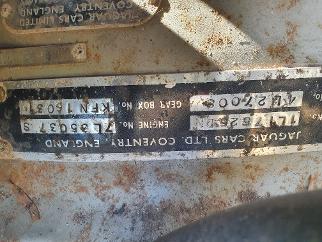
As mentioned above, being a matching numbers factory MOD car it had to be saved being a relatively rare car in Australia. But will I just preserve it? Fully Restore it? Or what are my options? I decided to set myself a strict budget of $15,000 all up including the initial purchase price and see if I can end up with a respectable car that I could be proud of and be happy to enjoy for at least some time. The option to sell it once a tidy up is complete remains an option.
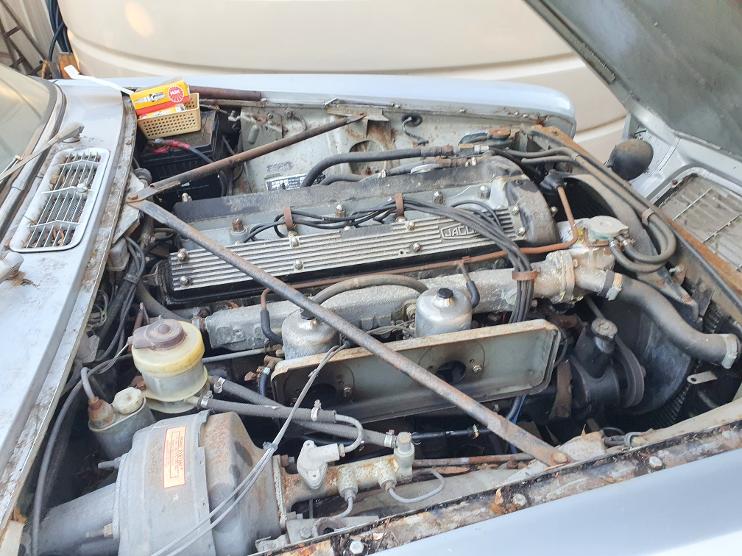
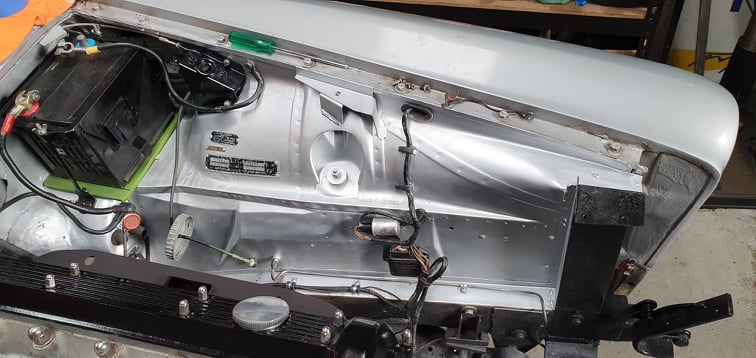
Initial observations revealed the engine bay was a mess, full of leaves and crud that had accumulated during a lay up period of approximately 10 years. So first task was to get rid of this rubbish and then see if the engine would run at all before I spent lots of money on the body repairs.
I determined the bonnet, the RHS front guard/wing and the drivers door were not economically repairable. Fortunately a mate had an early Series 1 shell with a good drivers door and RHS front guard, a good start. After much hustling I was able to source a good bonnet (from a Series 1 Daimler car). An initial inspection of the underside of the car was very pleasing, with no rust evident in the usual places, sills, floors et. A couple of small rust sections in the front cross member will need attention and the floor of the boot has evidence of some rust that needs rectifying. The front and rear bumpers would need attention, not sure what to do their. Sourcing a second hand set was the most likely option. The rest should tidy up nicely.
After draining and flushing the tanks, flushing the fuel lines, and replacing a couple of fuel lines, I changed the plugs, checked the oil and coolant (coolant was a sparkling green, a good sign), and put a good battery in place. Bingo! she fired up straight away and ran smoothly and with good oil pressure. I did at this point take it for a short run around the block and it ran smoothly and the ride was as it should be. Obviously the brakes would need attention and the clutch may need to be replaced. All for a future day.
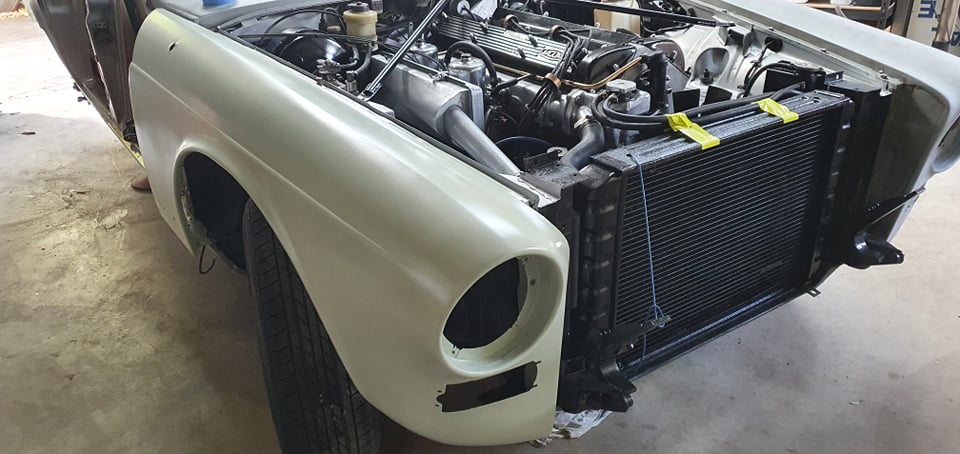
So a clean up of the engine bay was the next job. Not wanting to remove the engine it was a matter of removing as much of the ancillary bits to give me the best access to the inside guard panels that needed a clean up and paint. The plan being that then I would clean, replace, polish or paint all the ancillary bits as they went back on.
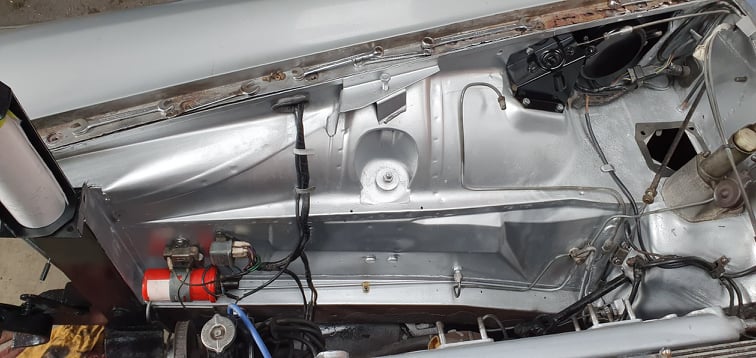
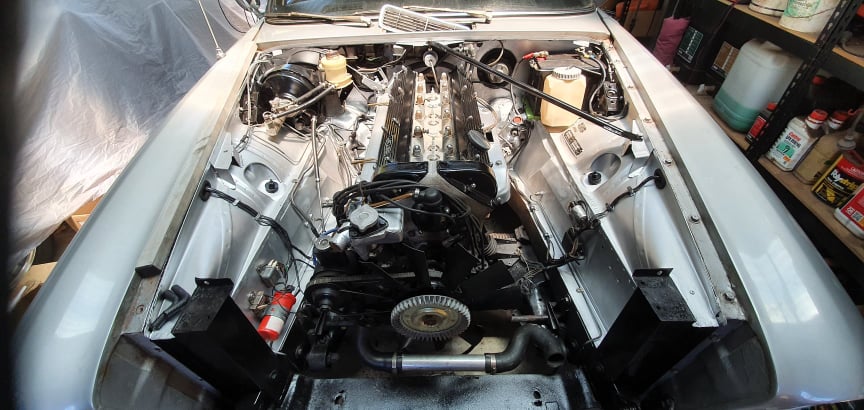
So Bonnet off, radiator out, carbies off, brake booster and brake lines removed, battery out (what a rusty mess under the battery). I was then ready to rub the inner guards back, clean and paint with a rattle can, just to get it respectable. As the photos show . . . .not a bad outcome really.
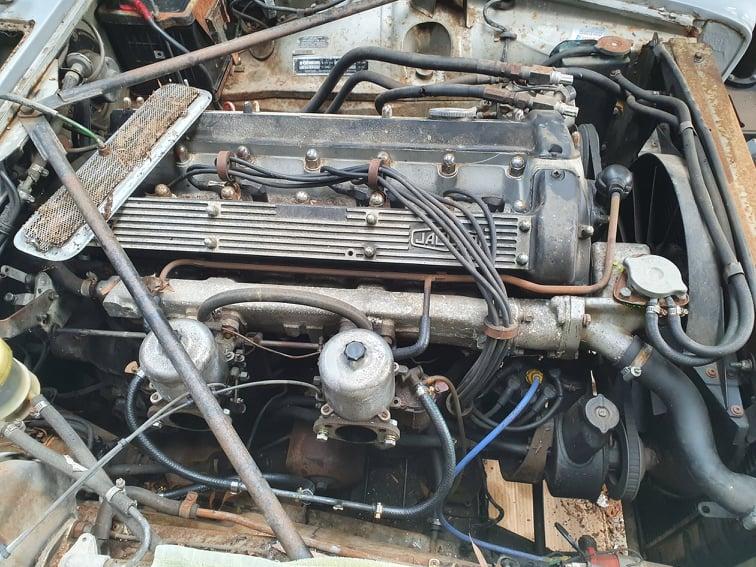
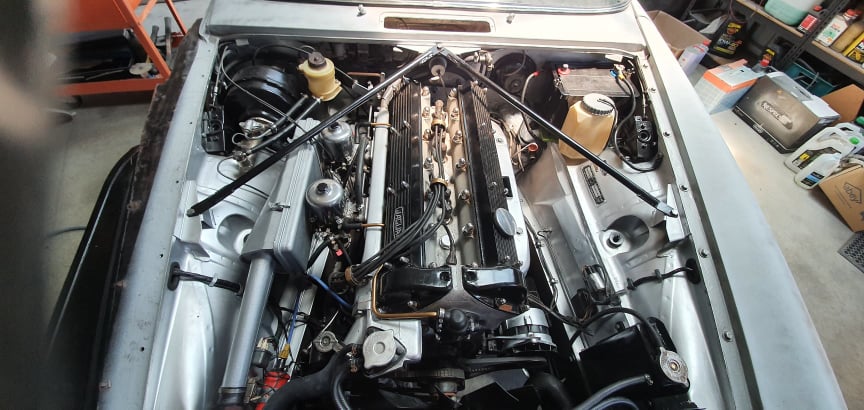
Now that is better . . . . . . . . . . looking loved and appreciated! Lets get some more bits back in the engine bay. Brake booster re-built, carbs cleaned and bells polished, air cleaner fresh paint, Cam covers painted insitu an example of what I mean by "just a tidy up".
It was now time to consider what I would do about the painting of the whole car. I had to do something, with some light rust spots and panel repairs needed. But just how far do I go?. Initially I was planning to just have a closed door respray in the same colour. It helps when your son is a professional spray painter and he agreed to do the job, but was not happy with some of the limitations I was planning. He insisted we also do the sills and inside door panels etc. So essentially a full respray omitting the boot and of course the engine bay which I had already tidied up significantly.
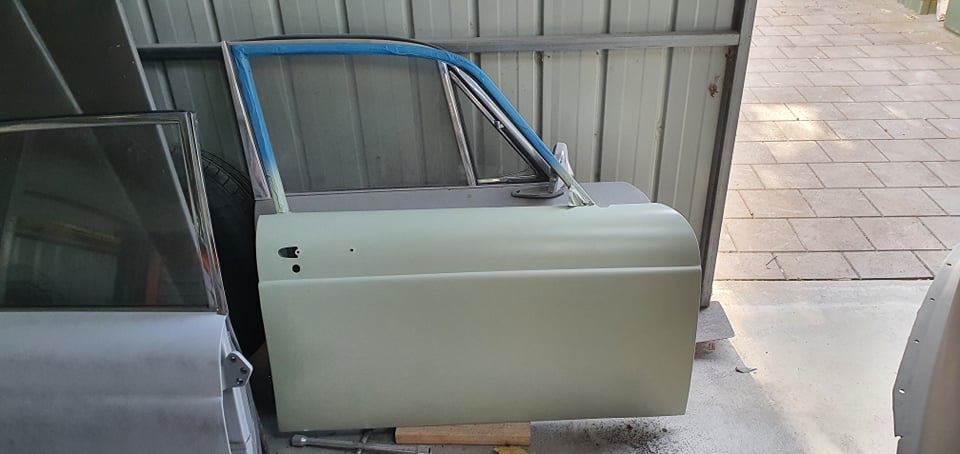
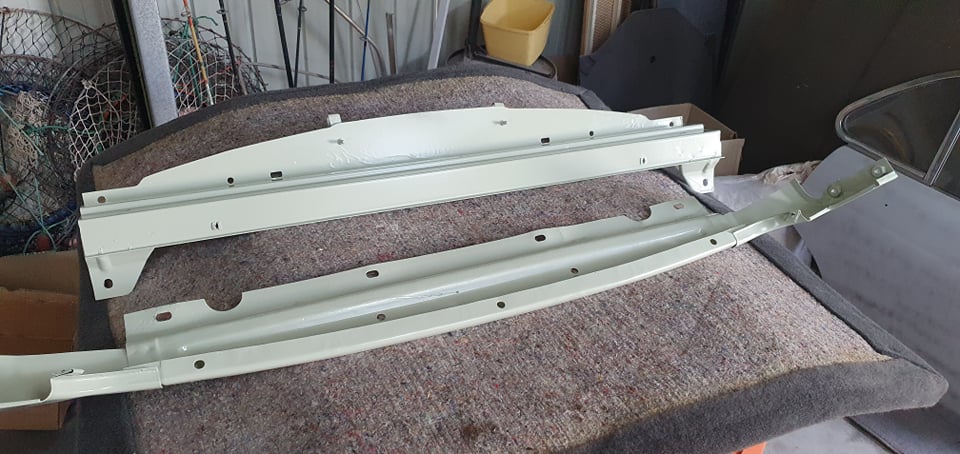
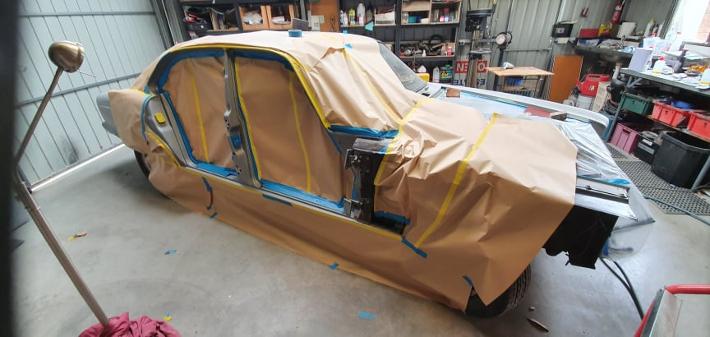
Off with the RHS front guard, RHS drivers door, RHSpassenger door, under tank panels, radiator top support and lower front beaver panel . . . . . . . in preparation for a grit blast of all these panels . The bonnet would be hand stripped to avoid any warping from the grit blaster. All panels were returned with 2 Pak primer finish. Great job.

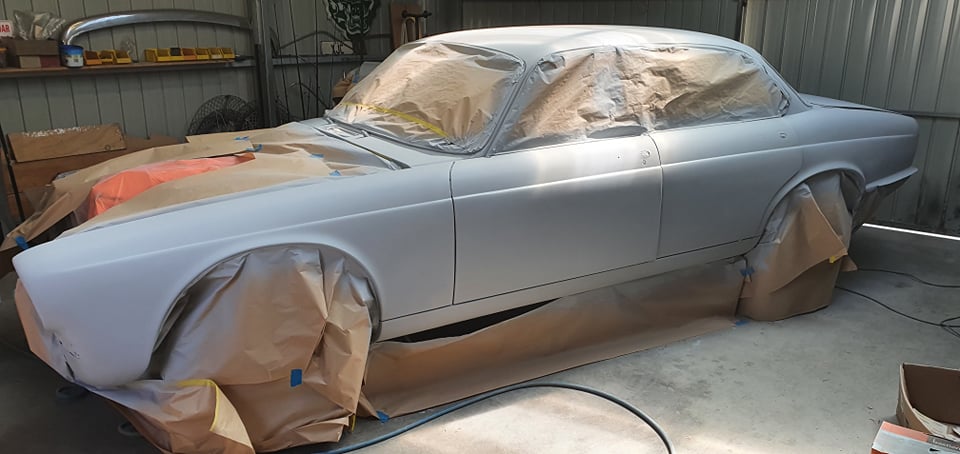
So the next step had to be preparing the rest of the body for primer. The rear drivers side door needed some rust repairs, as did one of the under tank panels. Other small rust issues were also tended to along with the rust in the floor of the spare wheel compartment in the boot. It was then time to tackle the priming of the body as a whole. This is when we get a glimpse of what it will look like finished.

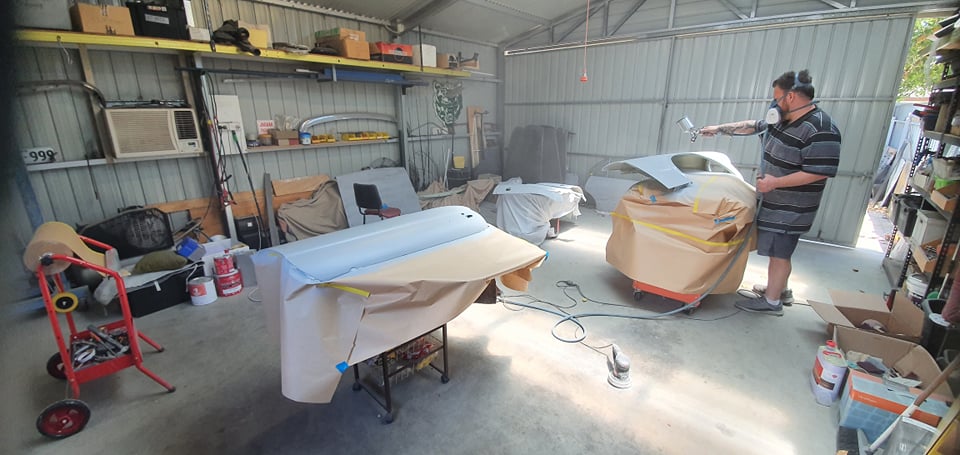
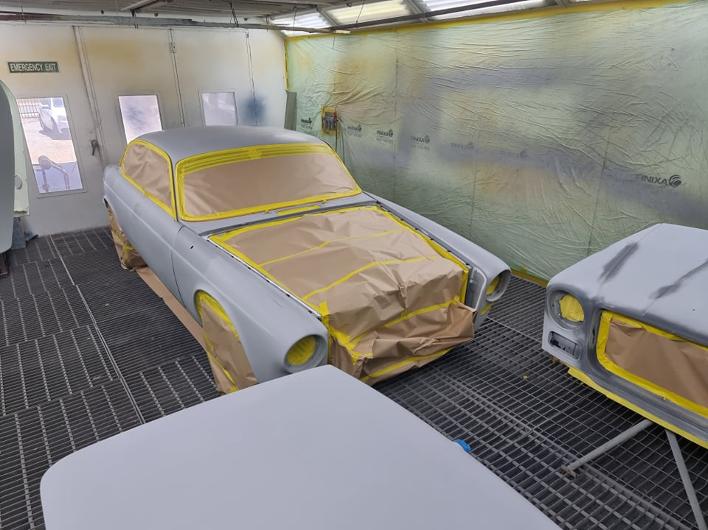
The panels that came back from the grit blaster needed to be primed, front guard, RHS front door, beaver panels and under tank panels. We thendetermined to finish the 2 Pak colour of inner door frames, sills and door pillars in our home shed. For the final exterior paint it will go to a mates booth. (Good to have mates like this)
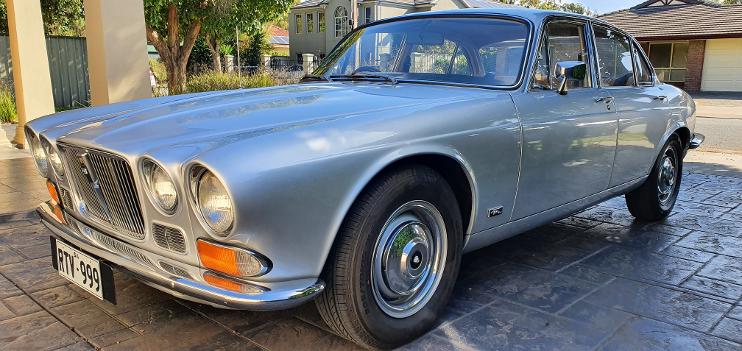
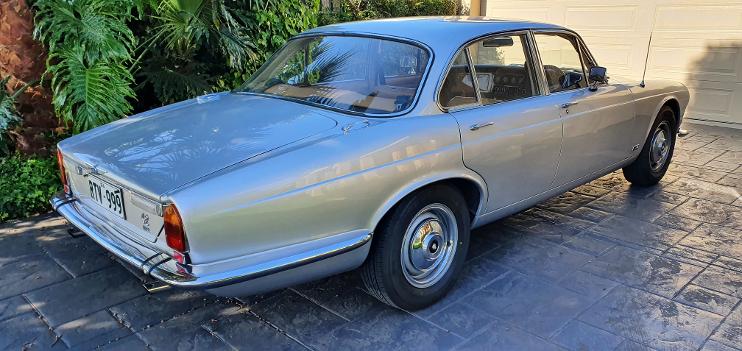
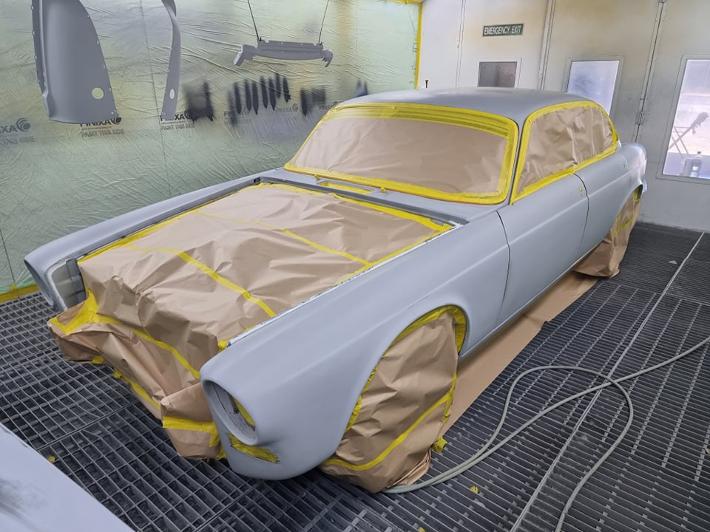
Plenty of wet rubbing went into preparing the body for the paint booth. But finally it arrived at the paint booth. A colour had been chosen closely resembling the original Metallic Silver Grey. because the car had already been painted (rather roughly) by the previous owner, there was no guarantee how close the current colour was to the original. Once in the paint booth the final preparation could be completed before the top coat and then clear coat.
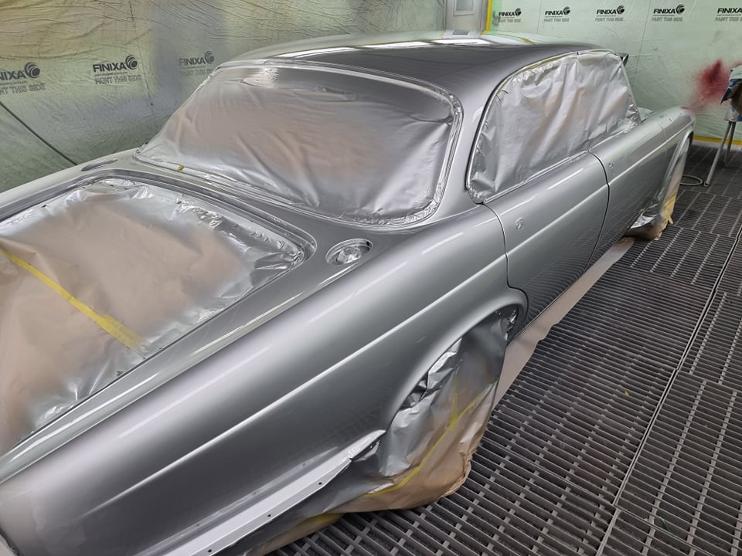
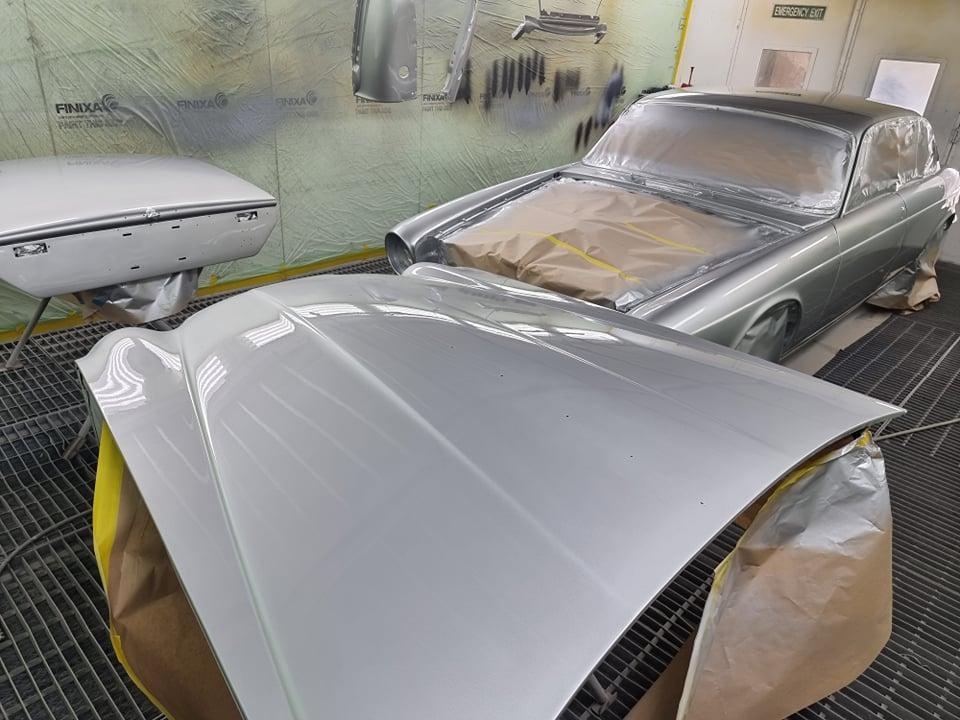
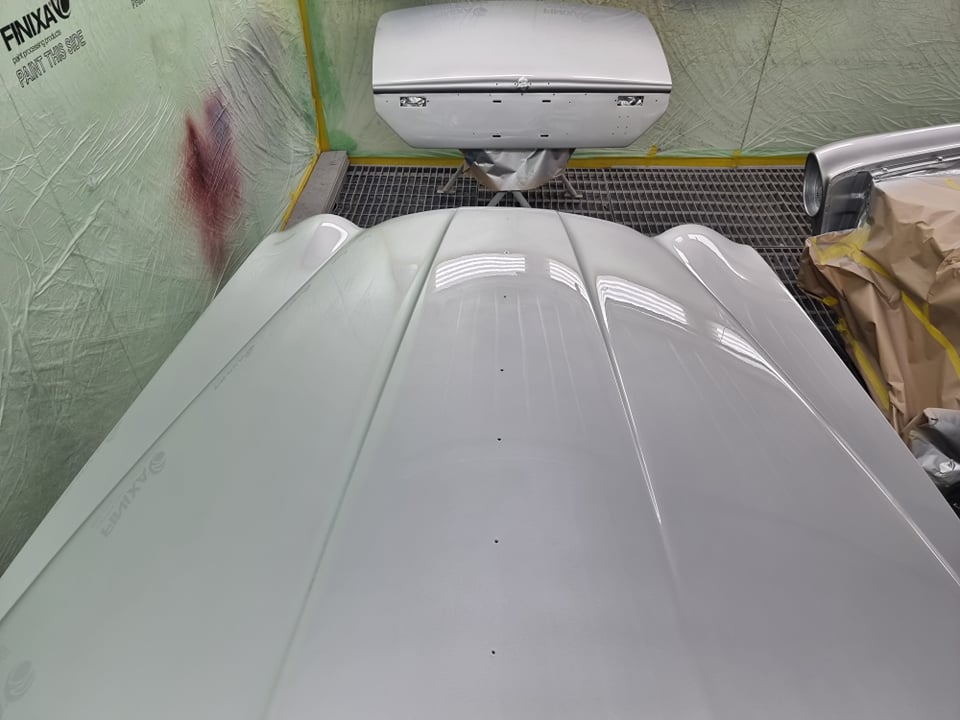

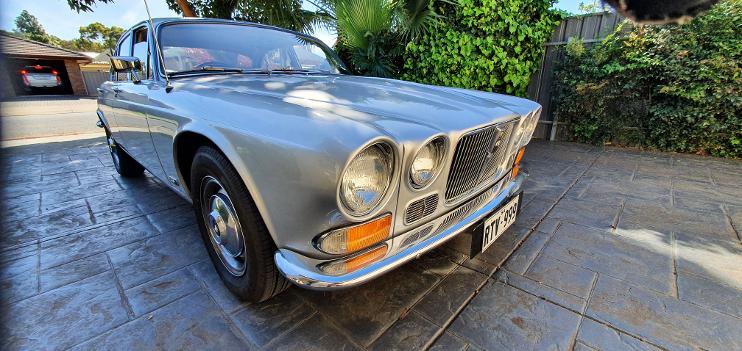
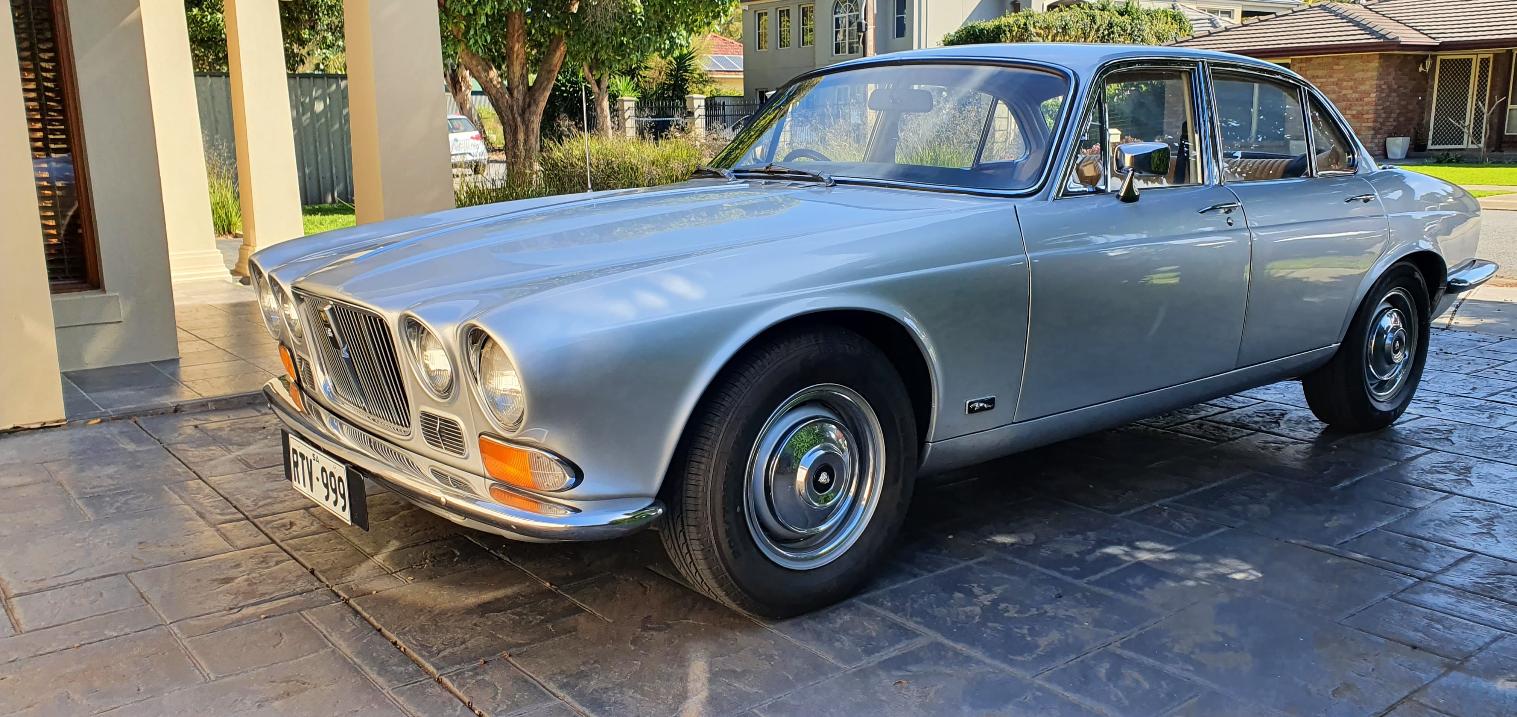
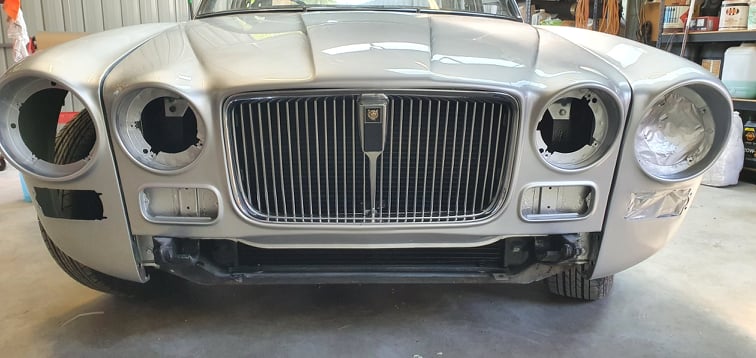
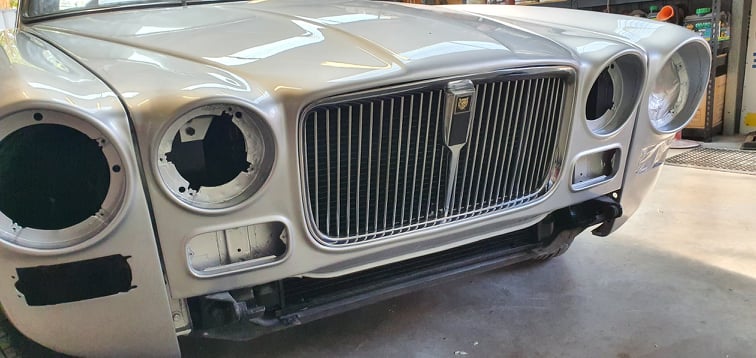
Now back home in my shed . . . . . and things can start to get really exciting as all the shiny bits go back on.. The V12 grill has been chosen simply because I prefer it over the original rather bland XJ6 grill and I did have one on hand. The car still needs a final rub down and polish, but it is looking rather magnificent in my opinion straight off the gun.
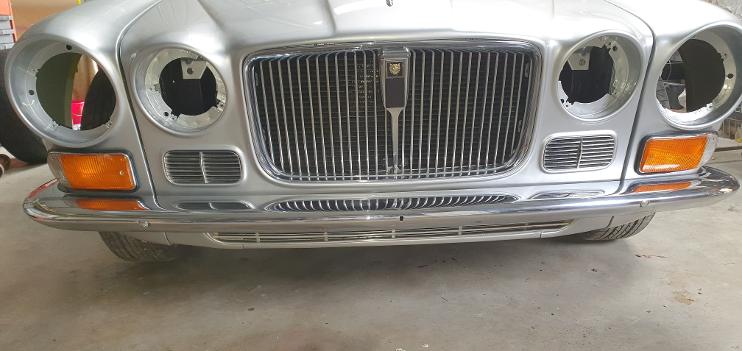
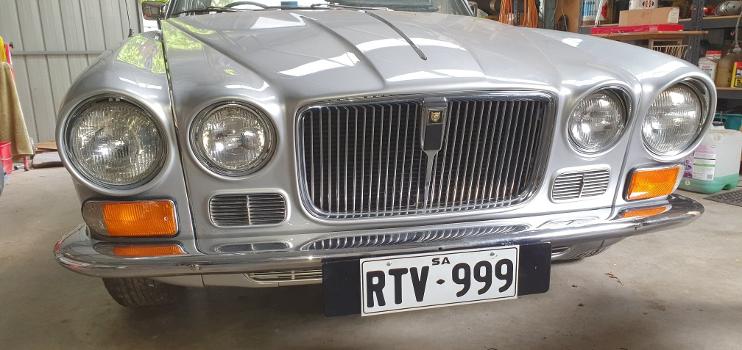
Getting the lights and front bumper fitted. (Had a half decent front bumper on hand from a previous car) The plan is for now to leave the Over riders off altogether. A stainless steel bolt in place does not look to odd. I am considering some customisation to the front bumper that I will discuss later in this post.
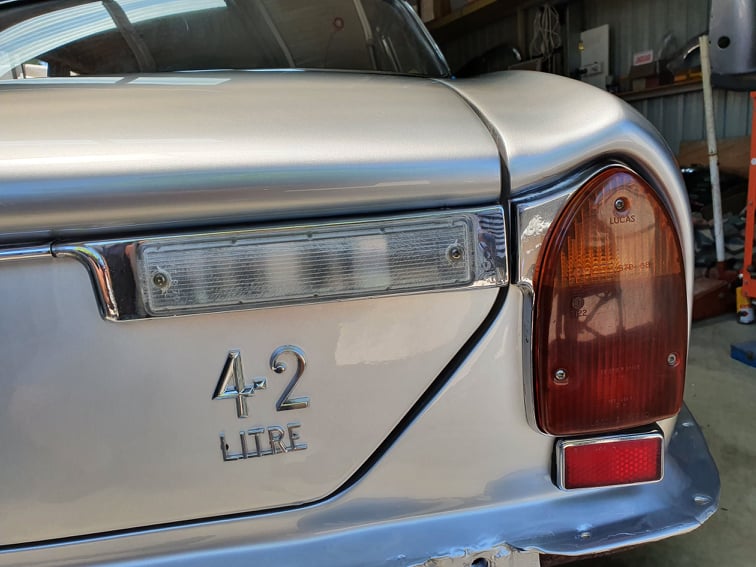
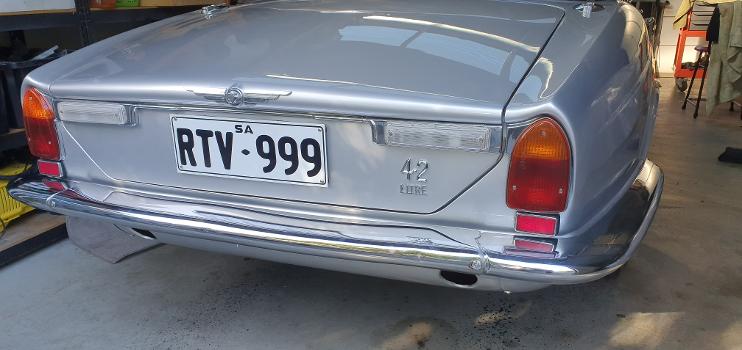
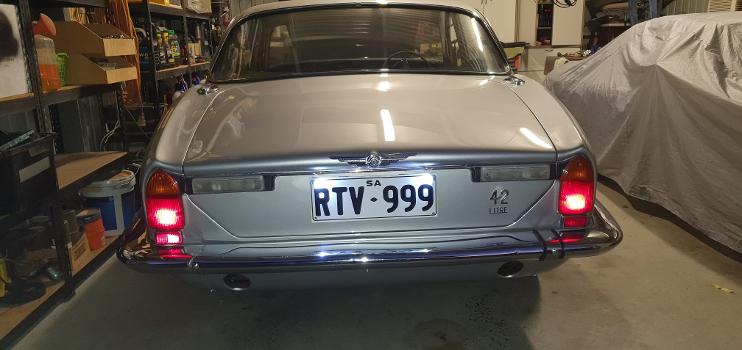
What a difference a few lights and some chrome makes. Now to get some shiny bits on the rear of the car. The tail lights, reversing lights, chrome and badges. Note in these photos the wrong "2" (Supplier provided a Series 2 badge. All fixed and swapped out now. I plan to leave the chrome number plate surrounds off for now as it requires a re-chrome and that is not in the budget.
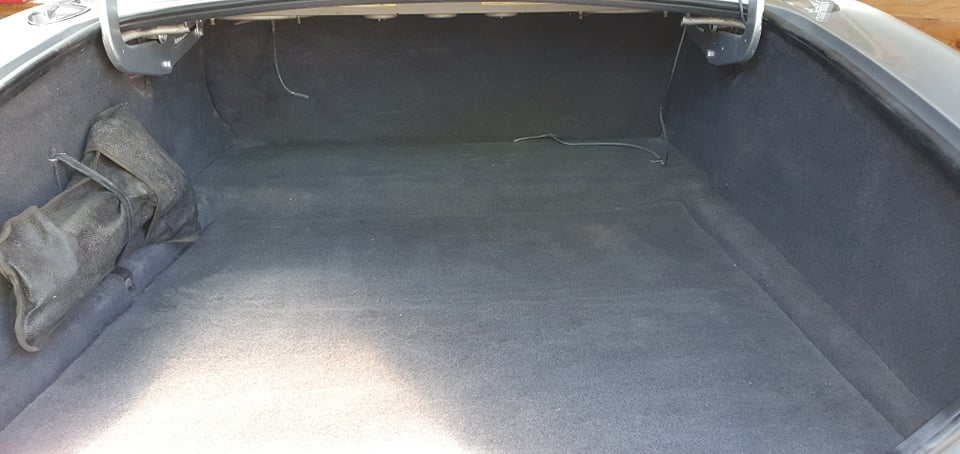
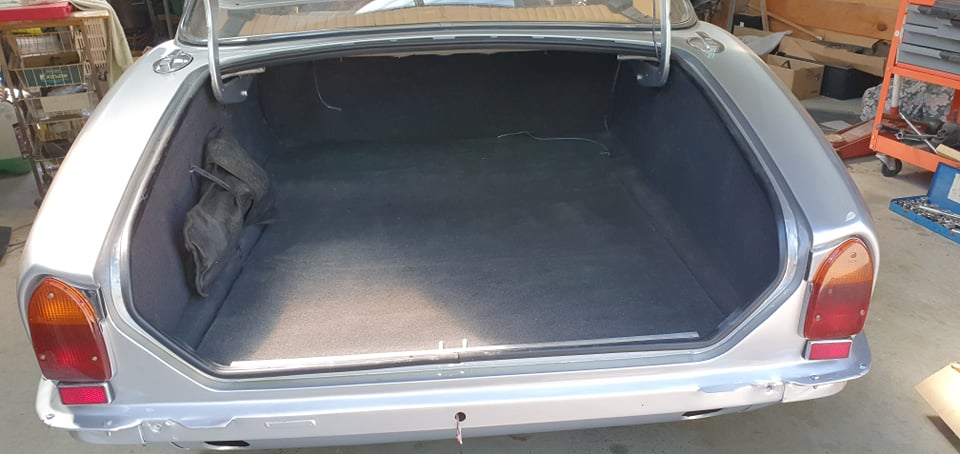
The boot had been treated to carpet by the previous owner and it will be fine for now. In fact it looks rather good despite not being original.
The next job is the the rear bumper. I have found two side pieces in very good condition to replace the very average ones that came with the car.. The centre piece is much harder to find in good condition for a Series 1. Due to the enormous cost of a re-chrome my option is to find a good Series 2 centre piece. This will mean an alternate arrangement for registration plate lighting. But that will be covered by installing the sexy number plate bolts that house a small LED to light up the registration plate.
I was able to find a reasonably good Series 2 centre bumper piece. I rather like the absence of the chunky over riders on the rear to match the front. A polished bolt fixes the bumper in place but I need a solution to cover the joint sections. I will also need to find a suitable solution for rego plate lighting.
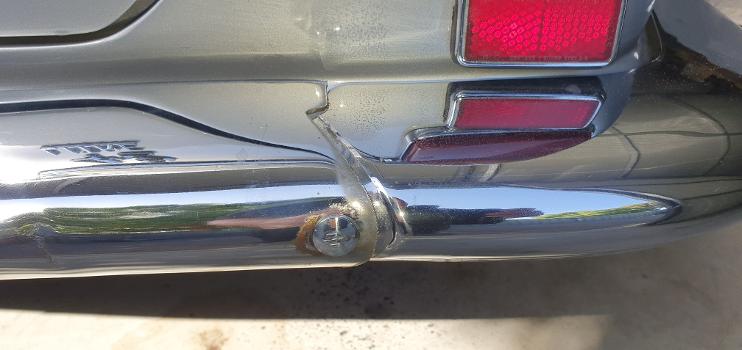
OK, so the covering of the ugly join in the three piece bumper without using the standard over riders has been solved for at least by manufacturing stainless steal straps with rubber insulation in a similar fashion to over riders. Held neatly in place with the polished coach head bolt. The need to illuminate the rego plate has been rather neatly resolved by using these sexy little LEDS that are actually housed inconspicuously in the hexagon head of the small bolt that holds the rego plate in position. Photos taken with just one in place for now.

Time to turn my attention to the interior. The car came to me with a lot of money spent on the interior shortly before the car was laid up. The new leather seats shown in previous photos and the door card had been done in a very good quality vinyl. The timber has been finished and looks great. All I needed was some fresh clips and contact cement and the job was done.