My 1966 Jaguar S Type Engine Rebuild
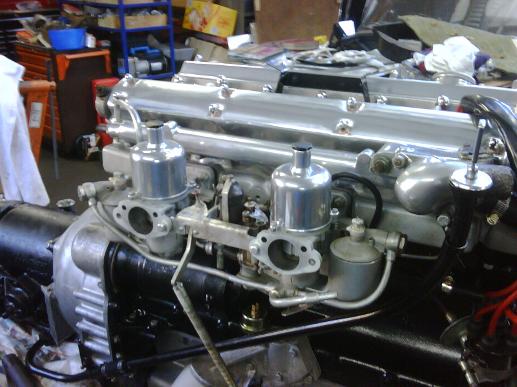
1. Looks great! But problems lurk beneath. Carbies have been butchered and leak badly, rear seal leaks badly and I suspect a bent valve.
3. Head now off, not an easy task! Number 3 valve is the culprit, and yes it is bent with a mark on the top of the piston telling why and how.
5. Removing the inlet manifold in one piece is quite a science. Lots of patience, WD40 soaking over night and gentle persuasion and eventually it is off.
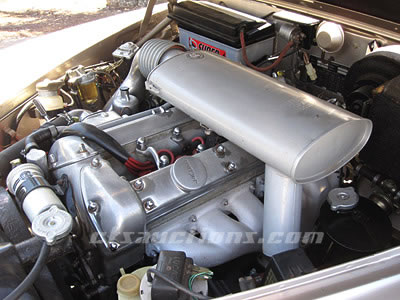
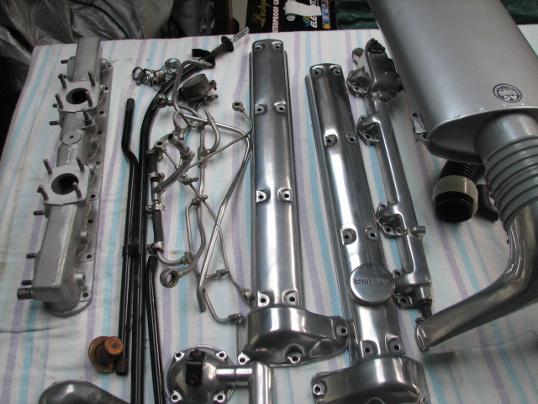
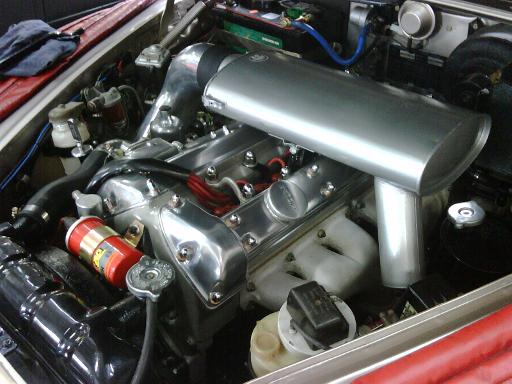
7. How rewarding it is to see all parts cleaned up and looking great with a little paint and / or polish. Love those shiny cam covers!
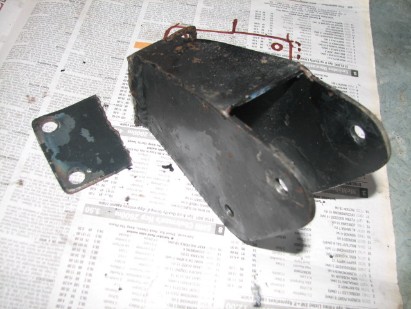
9. Removing the bracket it fell apart in my hand. This was a disaster waiting to happen!
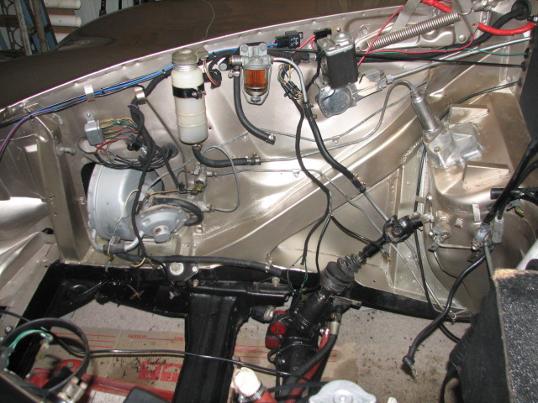
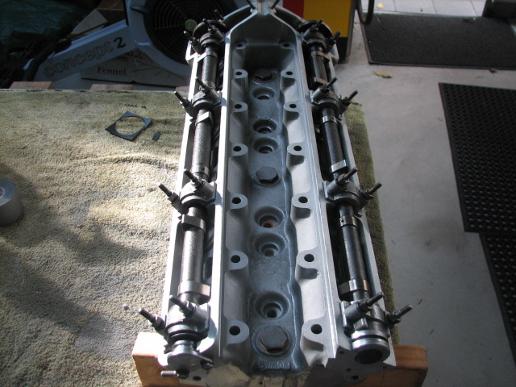
11. With the engine out what an oportunity to clean-up the engine bay and tidy up some of the wiring,
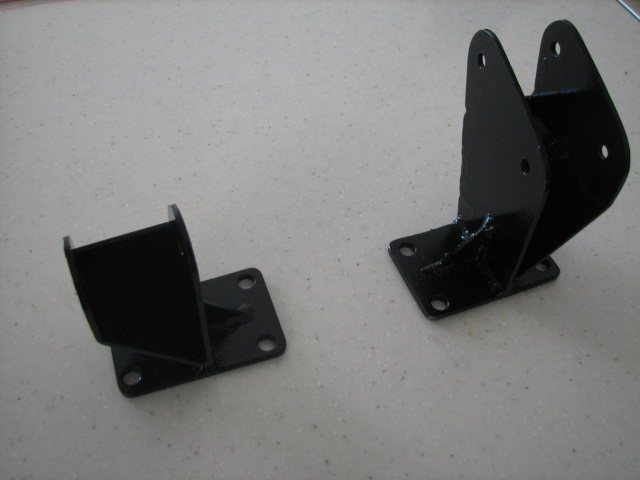
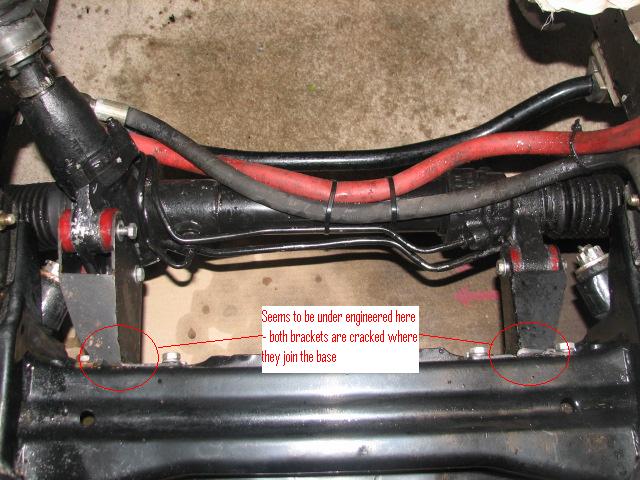
13. After discovering these steering brackets were broken and fatigued I have had them strengthened by up-grading the base plate from 3mm to 5mm and adding gussets both sides.
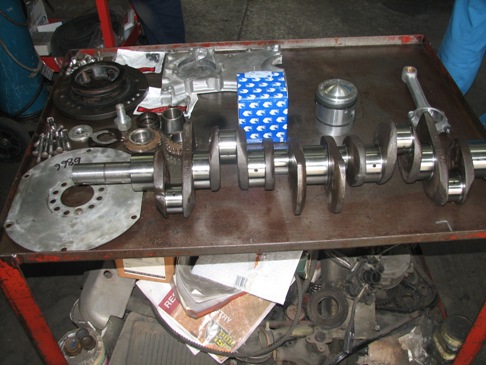
15. The crank has been ground, blue printed and balanced with new AE Hepolite pistons ready.
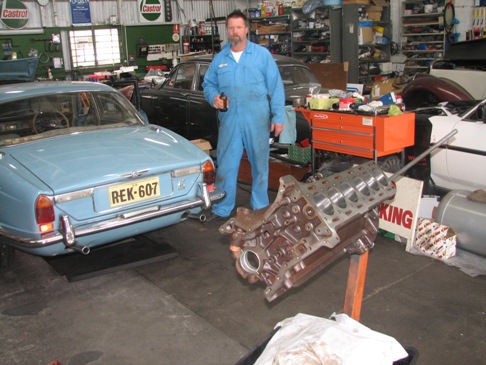
17. My trusted mechanic in his workshop. Steve Manuel of Price Alexander Motors.
19. Shiny new hepolite pistons fitted
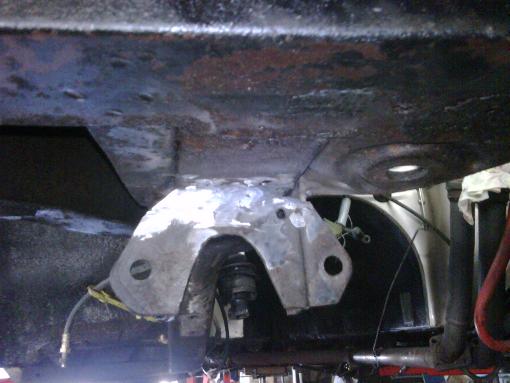
21. When you get underneath there is always a surprise or two. A previous repair on the chassis bracket connecting the front end needs to be welded properly.

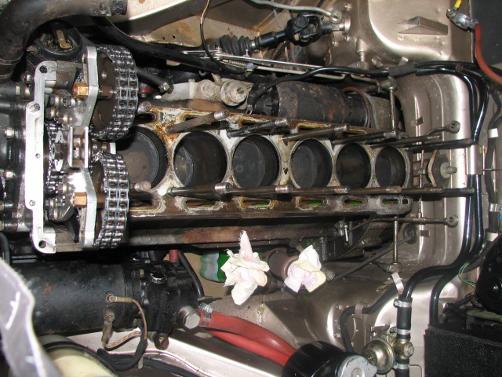
23. All timing gear rebuilt and now in place. New water pump fitted.

25. Decided to drop the front end to inspect and repair chassis brackets properly.
27. New front end to chassis bracket manufactured and tack welded in place.
29. Transmission has been fully rebuilt and fully dyno tested. Now I will have first gear back.
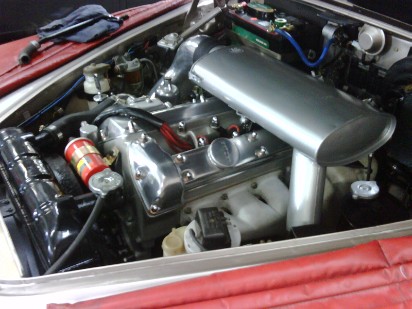
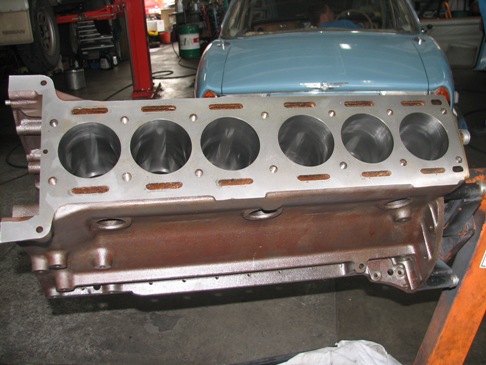
31. Engine now in the car and running. Not Purrrrring yet, still needs a final tune.
33. Brought the car home today. It was just magic to be driving the ol' lady again. I will give her a wash and polish for "All British Day" on Sunday.
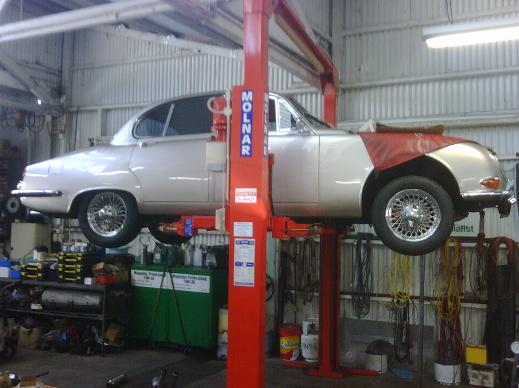
2. I am left with little choice. Pull the engine out and start again. At least I will know what I have. Yep! 3 1/2 Ltr. block, and numbers match the Heritage Certificate
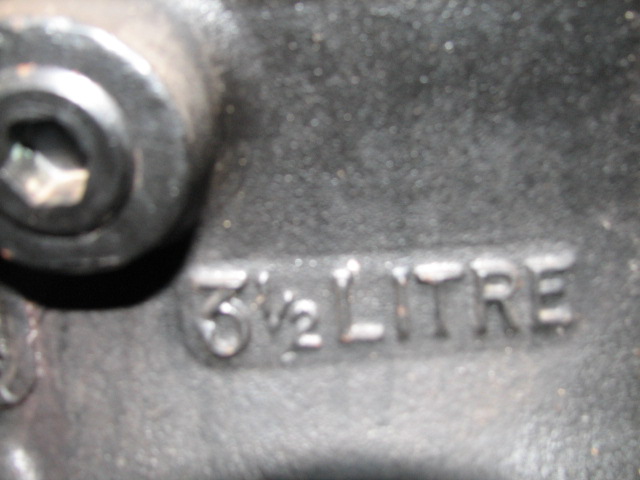
4. The good news is the bore is showing little wear but SURPRISE - it has been bored to 3.8 specs. This is well beyond the recomended max bore for a 3.4.
6. I have now got the head back, reconditioned with new valves, seats, guides, shims and bearings. I have installed the hold down brackets on all buckets.
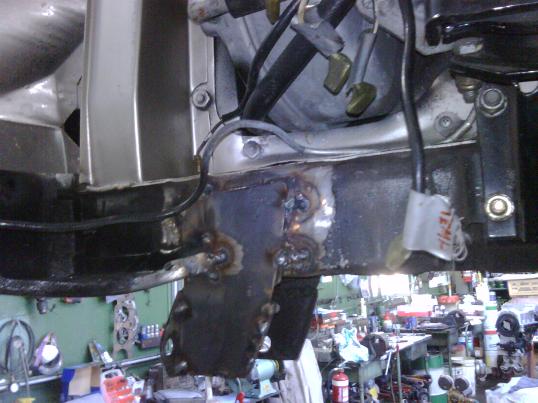
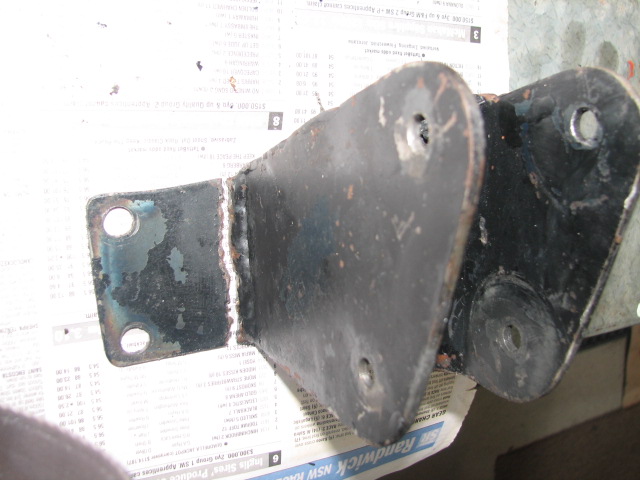
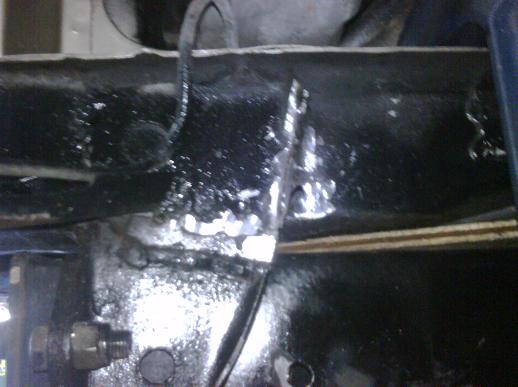
8. With the engine out I found cracks in the power steering brackets. They seem to be significantly under engineered and will need attention
10. Another pic of the same bracket. Sometimes forced engine removals bring mixed blessings!
12. Paint bits and pieces and get rid of some of the dodgy things that have been done over the years.

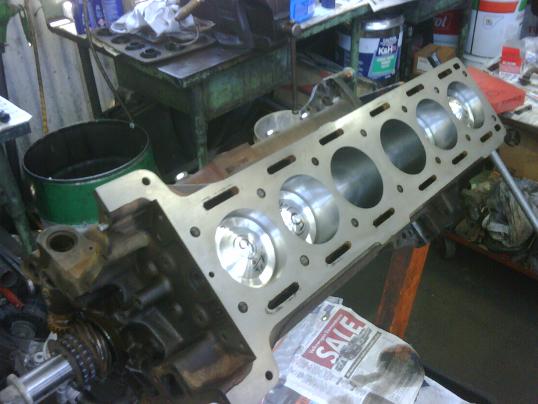
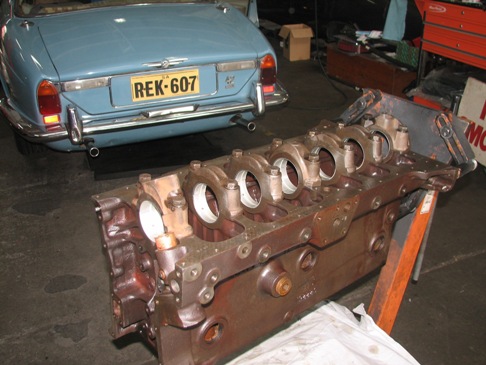
14. Finally, some real progress with the fully machined block returned to the workshop. This is a 3.4 block to replace the original block that had been over bored to 3.8 specs.
16. Love the nice clean new look after machine work. Block bored to 0.030 over size
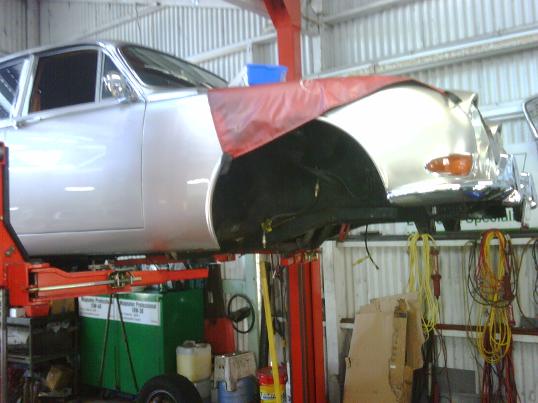
18. The old lady all up in the air! I could do with a hoist like this in my garage!
20. New oil pump and pick-up. New water pump coming

22. A grind back of the old rough weld job by a PO. and a reweld will put 'safety first'. These little jobs have to be done now. Picture shows RHS bracket.
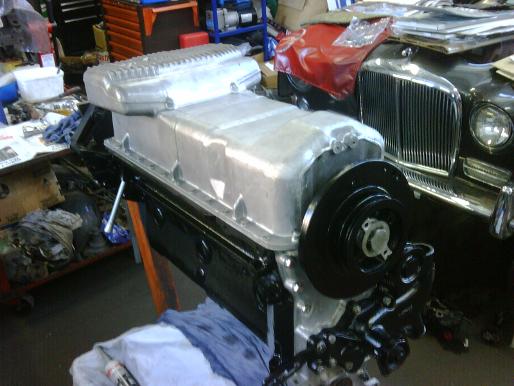
24. Bottom end now complete and original type alloy sump fitted. Looks great!
26. And just as well as more cracks in the front end mounts were detected.
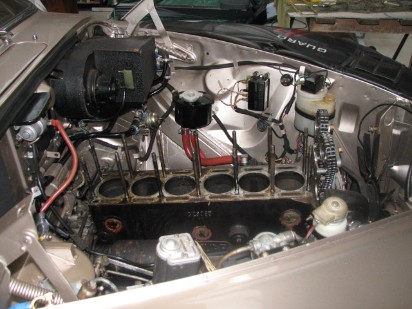
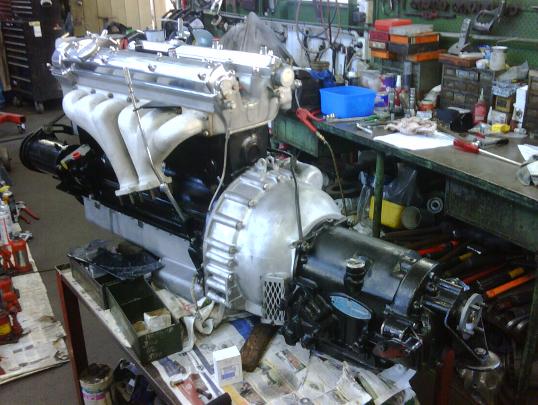
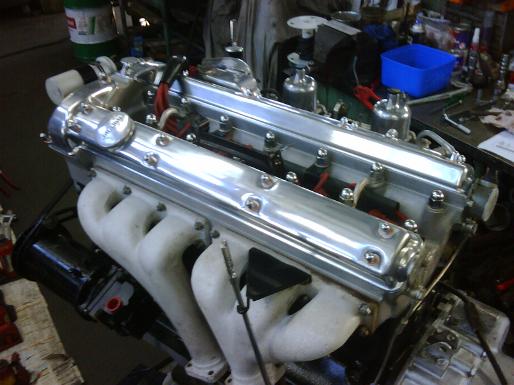
28. Now this is real progress! Engine now fully assembled and ready to go back in the car.
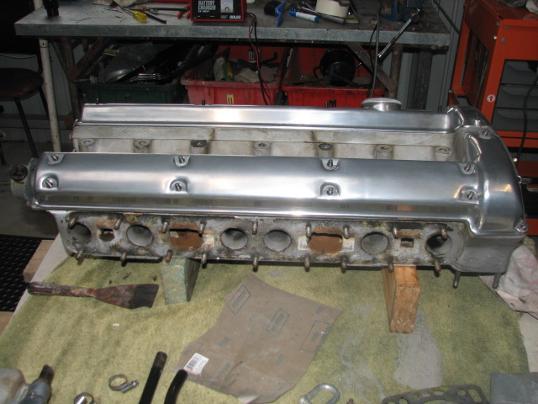
30. Can't wait to hear it fire up. Cam covers were found to be cracked and needed some remedial welding.
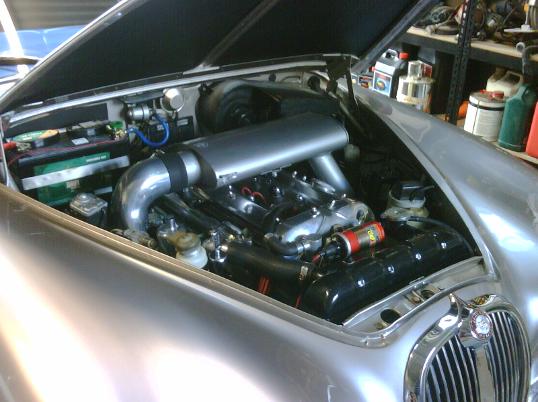
32. New battery and coil visible. Went for a drive today and very exciting.
34. Still a few things to be done. Faulty solenoid on transmission to be replaced. New rear mufflers and tail pipes and vacume leak in the brake booster.
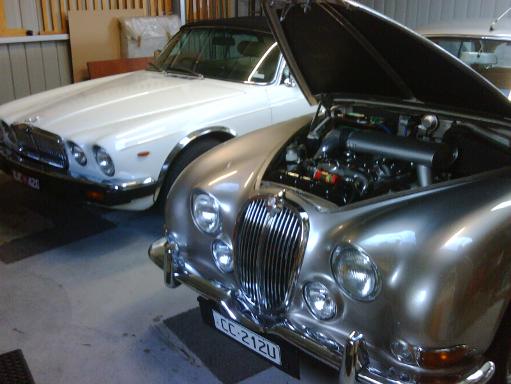
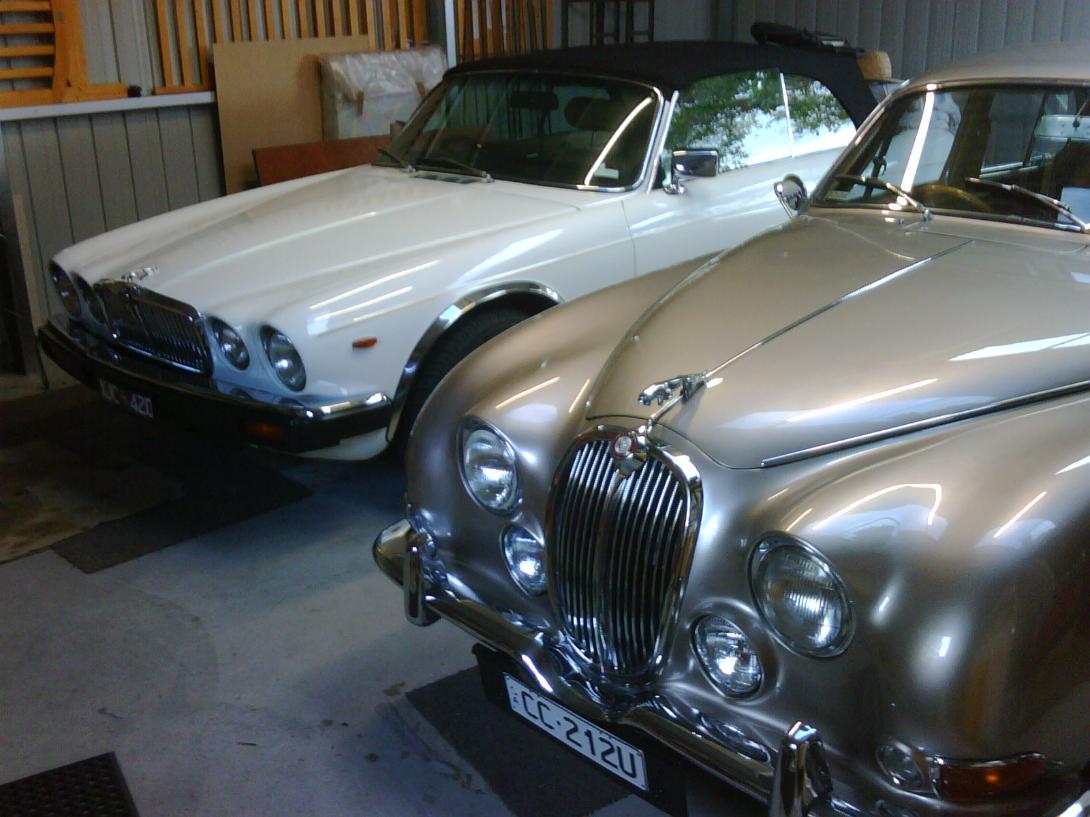
35. I am just excited to see them side by side again where they belong!